23 Jun How to Tuck in Your Shirt
At the risk of sounding too dramatic, mastering these four genius ways to tuck your shirt will change your life. Here’s how… shirts that were once too long or too boxy that hung unworn in your closet will suddenly fit just right. The outfit that was once ho-hum will be transformed to stylish in a snap. And you will become the “stylish one” that can make a simple t-shirt and jeans look elevated and chic. Pro Stylist Kate shows us step-by-step how to master these four tucks. Are you ready?
1. The Front Tuck
Works to define your waist, show off a hint of a belt, and gives shape to boxy and bulky tops.
STEP 1: Grab the front edge of the top leaving about four inches between your hands.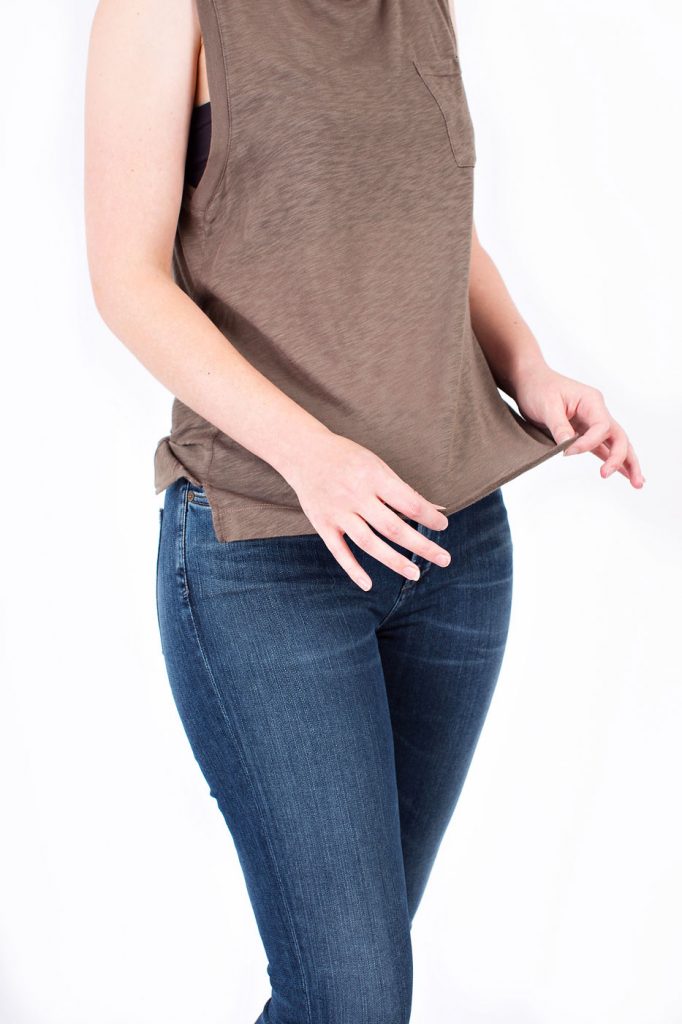
STEP 2: Next, tuck about 1.5 to 2 inches into the front, aiming for the center section of your pants. Using your belt loops as a guide work as a great. 
2. The Side Tuck
Accomplishes everything that the front tuck does, just with a bit more flare.
STEP 1: Grab the bottom edge of your top directly over the pocket, or where the pocket should be.
STEP 2: Tuck in the shirt about 1.5 to 3 inches in just behind the pocket, between your belly button and hip.
3. The Full Tuck
Adds polish and sophistication to create a more classic look.
STEP 1: Begin with tucking your shirt in completely, start with tucking the back first and working your way around to the front.
STEP 2: Once the shirt is fully tucked, raise up your arms and shoulders to pull out just enough slack. 
4. The Half Tuck
Alleviates weight from a button-up and adds a fashion-forward twist to a more classic look.
STEP 1: Leave the top unbuttoned down from the waist of your pants.
STEP 2: Tuck in one side of the shirt leaving everything else untucked.
To order a Box or book a Style Appointment at our Dallas studio with our expert stylist Kate, click here and request her when you place your order.



No Comments